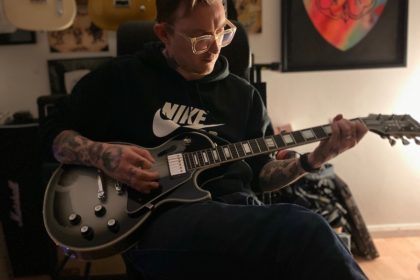
Is a great studio tool! The focus is on record clean DI’s and getting the right take. That way, you can spend time later finding the right tones without destroying the guitarist. Another great use is keep your lockdown recordings sounding huge! Record your DI’s at home and then send them off to someone with a great amp, mic and pedal collection to do the rest!
Step 1… Record clean DI’s into your DAW. At this stage you are focusing on getting the right take’s for each section. Aim for your track to peak around -12dBFS, this will give you ample headroom later down the line.
Step 2… Edit your clean DI’s. At this stage you are taking all of the recorded sections and carefully editing them down to one consolidated audio file, be sure to fade sections together to avoid any clicks and pops going from one section to the next.
Step 3… Sending back the signal. At this stage you are prepping your session to send your signal out to your amplifier. At home I’m using a Focusrite Clarett 4pre. Outputs 1 and 2 are for my main monitors, so I use outputs 3 and 4 to send signals from my Clarett back to my amp via a Palmer reamp box. So the signal flow goes…
Output 3 > Palmer Reamp Box > JTM45.
Step 4… Find the tones. At this stage, you now have signal playing back from your DAW into your guitar amp. This is the time to play around with the amp settings, add pedals and really fined a tone that works with the song. make sure you play the track back at the same time so you can hear your new sound in context with the track.
Step 5… Record the new sound. At this stage we are ready to set up some microphones and re-record the signal back into our DAW. I tend to use at least 2 mics on my guitar and blend them together. Again, try and aim for your signal to be coming back into your DAW around -10/-12 dBFS. This will give you the headroom you need to mix and master the track.
Step 6… Check the phase. If like me you have used 2 microphones, you want to make sure that you’re checking the phase to ensure that everything is sounding how it should. Mis aligned phase can make your track sound weak and hollow. For this I use the Sound Radix Auto Align plugin.
Step 7… Commit the tracks. We don’t need two channels for every guitar we’ve recorded! The session will be huge. So we make any subtle EQ/Compression changes to each individual track and then we print them to a new mono audio track. This way, we’re left with one guitar on the left, one on the right and one in the centre.