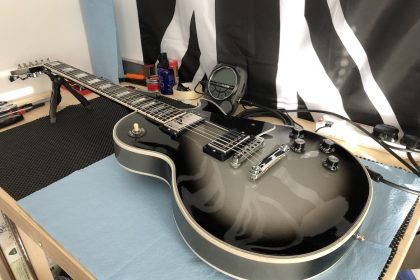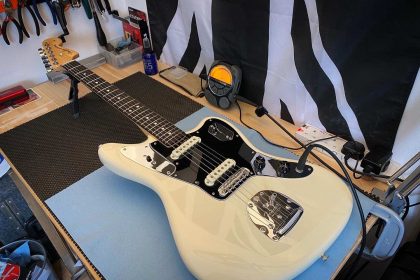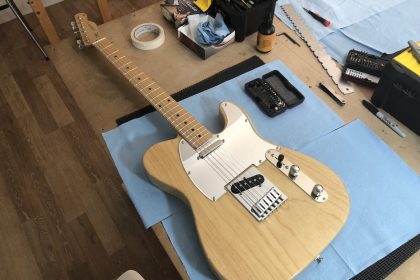
Thought it would be good to go back and give more context to the fret dress. First lets look through the tools that you’ll need…
- Masking Tape
- Allen keys
- 8” Levelling Beam
- 320 Grit Self Adhesive Sandpaper
- Notched Straight Edge
- 300 Grit Diamond Fret Crowing File
- 1500 – 12000 Grit Sand Paper
- Sharpie
- Tools aside, the process is broken down into 7 steps.
Step 1 – Get the neck nice and straight – Use the notched straight edge and the Allen keys. Keep tweaking it until you get the fretboard flat.
Step 2 – Mark the frets with a sharpie – Draw a line down each fret to mark any dents and pits
Step 3 – Level the frets with a levelling beam – Attach the self adhesive sandpaper to one side of the 8” levelling beam and following the radius of the neck sand down the frets to remove any of the pits and dents. Once you’ve removed all of the pen and you can’t see the dents you’re good with this step.
Step 4 – Mark the frets again with a sharpie – Draw another line down each of the frets to mark a clean smooth fret.
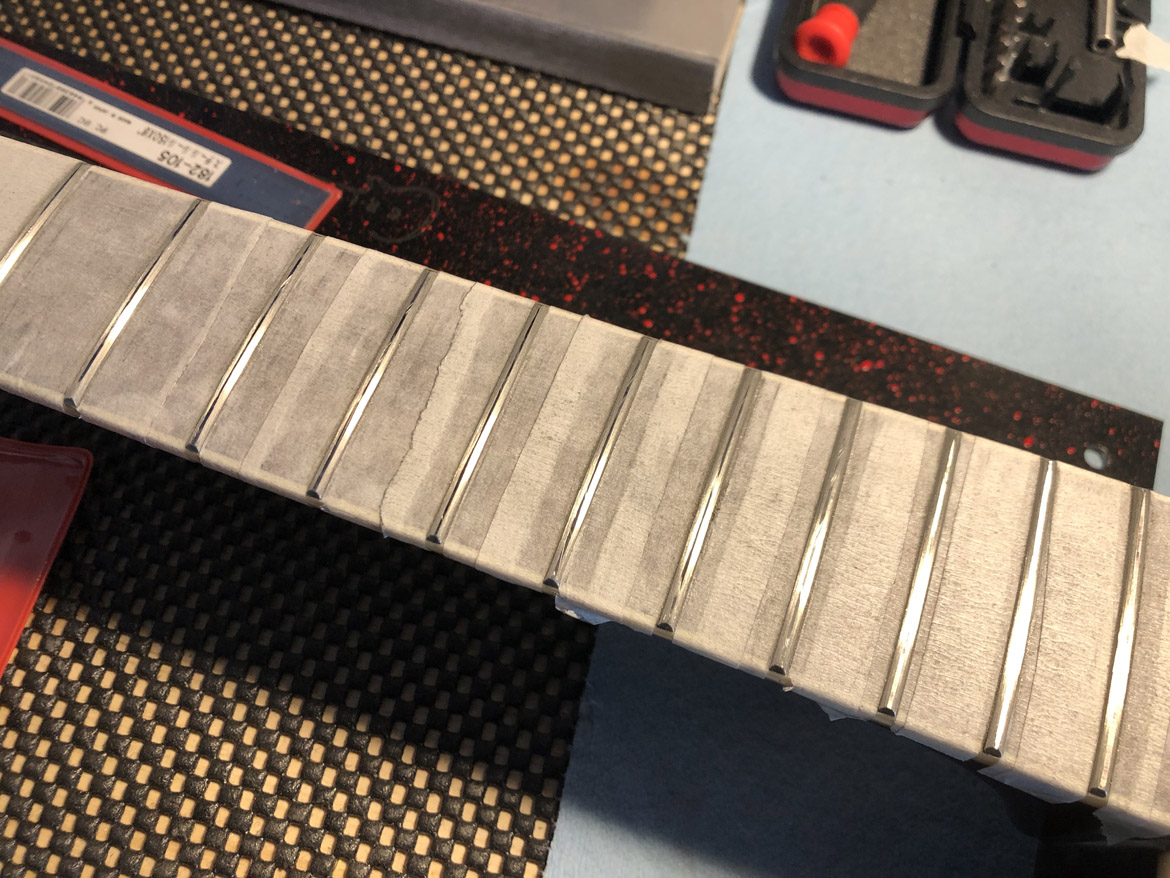
Step 5 – Dress the frets from the outside in – Using the diamond fret file (I use a stew Mac Z-file) start on the outer edge of the fret and work your way towards the centre slowly getting that pen mark to a fine hairline.
Step 6 – Polish the frets – Using the sandpaper starting at 1500 grit remove any marks and scratches from each fret. Follow up with 8 different variants of sandpaper finishing up with 12000 grit to give a glassy finish.
Step 7 – Set up the guitar!